Why Connect Tuya Devices to Alexa or Google Home?
Tuya devices work perfectly in the Smart Life or Tuya Smart app, but their real power appears after connecting them to a voice assistant. With Alexa or Google Home, you can control lighting, switches, plugs, sensors, thermostats, and other Tuya devices using simple voice commands and automation routines.
In this guide, you’ll learn how to link Tuya to Alexa and Google Home step-by-step, avoid common errors, and optimize your setup for fast and stable responses.
Before You Start: Requirements for Voice Control
Make sure you have the following prepared:
- A working Tuya or Smart Life account
- Your Tuya devices already added to the app
- A stable 2.4 GHz Wi-Fi network
- An Amazon Alexa device (Echo, Echo Dot) or a Google Nest speaker
- Location services and permissions enabled on your phone
How to Connect Tuya Devices to Amazon Alexa
Step 1: Open the Alexa App
Go to the Amazon Alexa app on your phone and log in if needed.
Step 2: Add a New Skill
Navigate to More → Skills & Games and search for:
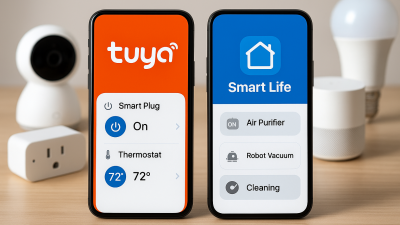
- Smart Life (recommended)
- or Tuya Smart
Step 3: Enable the Skill and Log In
Tap Enable to Use. Enter your Smart Life / Tuya login and password, then allow device authorization.
Step 4: Discover Devices
Alexa will automatically scan for compatible Tuya devices. This takes about 20–30 seconds. Once discovered, your lights, switches, plugs, sensors, and thermostats will appear in Alexa’s device list.
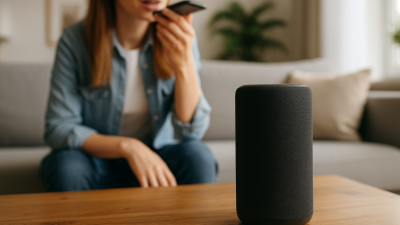
Step 5: Test Voice Commands
Examples:
- “Alexa, turn on the living room light.”
- “Alexa, set the thermostat to 22 degrees.”
- “Alexa, turn off the coffee machine.”
How to Connect Tuya Devices to Google Home
Step 1: Open the Google Home App
Make sure you are logged into your Google account.
Step 2: Add a New Service
Tap + Add → Set up device → Works with Google.
Step 3: Search for Smart Life
Find one of the following integrations:
- Smart Life (best compatibility)
- Tuya Smart
Step 4: Link Your Account
Enter your Smart Life / Tuya login and authorize Google Home to access your devices.
Step 5: Assign Devices to Rooms
Assign each Tuya device to a specific room so Google can understand your voice commands more accurately.
Step 6: Test Voice Commands
Examples:
- “Hey Google, turn on the kitchen light.”
- “Hey Google, switch off all the lights.”
- “Hey Google, what’s the temperature in the living room?”
Alexa vs Google Home: Which One Works Better with Tuya?
- Alexa — faster responses, better multi-device control, more scene automation options.
- Google Home — smoother smart home grouping, better natural language recognition.
- Both — fully support Tuya devices, including lights, plugs, switches, thermostats, and some sensors.
Troubleshooting: What to Do If Devices Do Not Sync
- Make sure your Tuya device is online and updated.
- Check if your phone is connected to the same Wi-Fi network during setup.
- Try unlinking and relinking the Smart Life / Tuya account.
- Delete the device from Tuya, reset it, and add it again.
- For Google Home: clear cache of the app.
- For Alexa: disable and re-enable the Smart Life skill.
Related Reading
You may also want to check our guide on creating Tuya automation scenes — it explains how to build advanced routines after linking your accounts.